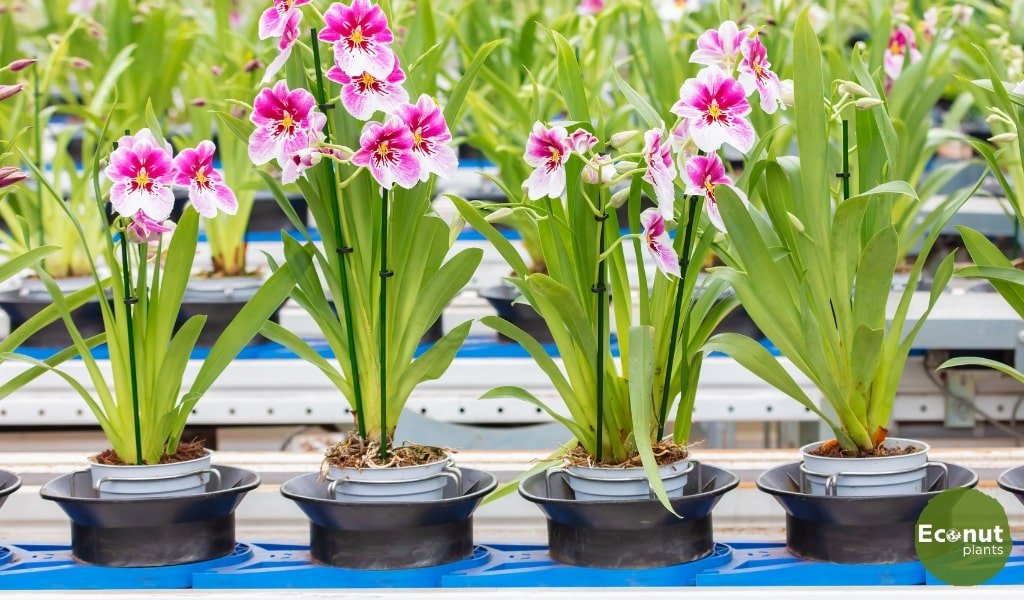
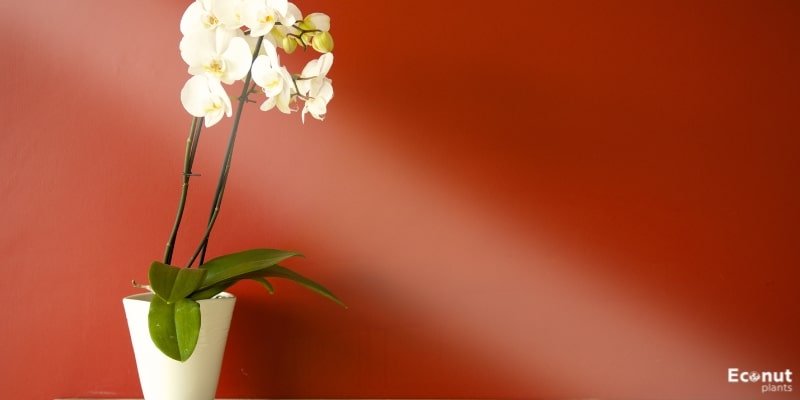
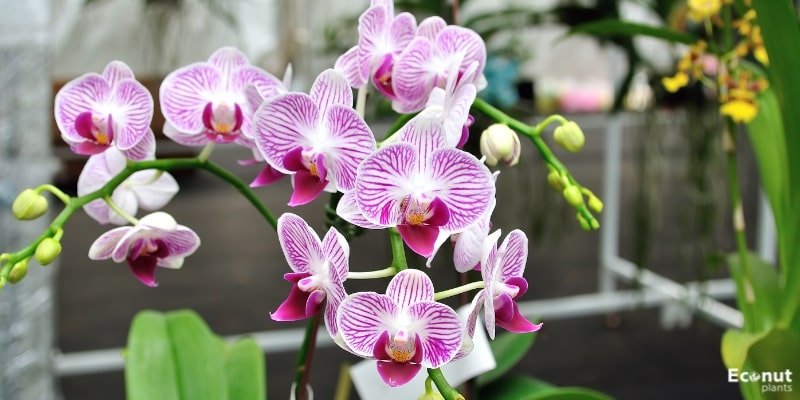
Orchid blooming Care buds of orchid plants typically leave us speechless. For several weeks, even months, they entice us with their beauty.
Uncertain about the after-bloom maintenance of your orchid? Particularly once they have flowered, these delicate blooms are known to be extremely particular about their upkeep schedule. Our post-blooming orchid care advice is included in this article.
Don’t throw it away!
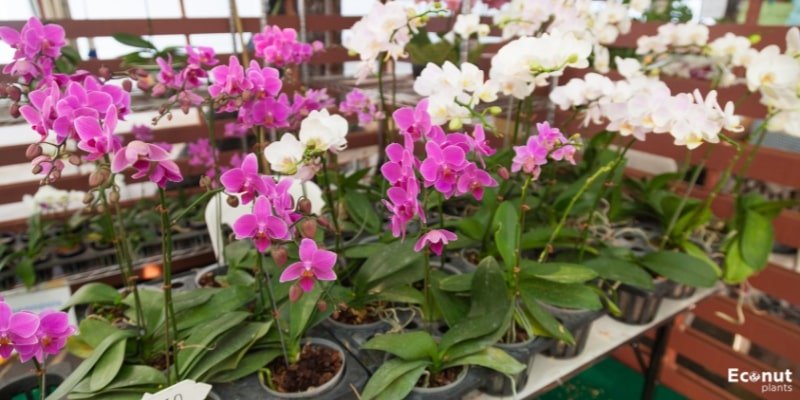
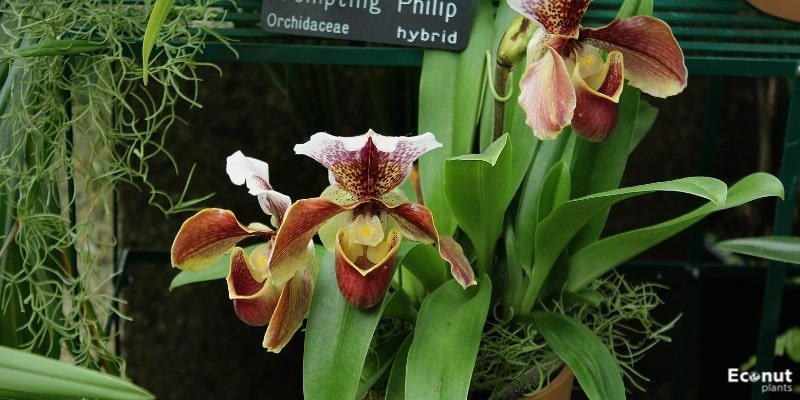
First and foremost, it’s important to realize that orchids are perennial plants that bloom annually, biannually, or even three times a year, depending on the genus and species.
Some orchid species, including Vanda and Dendrobium, can bloom twice in a single season if they have adequate water, sunlight, and nourishment. However, most orchid species only bloom twice a year. So don’t give up if the blooms fade; if you follow these recommendations, you will have flowers again shortly.
Cut the Flower Spike
Orchids typically do not require frequent pruning. If the plant has stopped flowering and the flower spikes need to be removed, then this rule does not apply.
If the flower spike is removed, phalaenopsis orchids in particular can even rebloom in the same season. From the first node on the original stem, this species is capable of developing a second, smaller flower spike.
Also Read: Purple Orchid
How to do it:
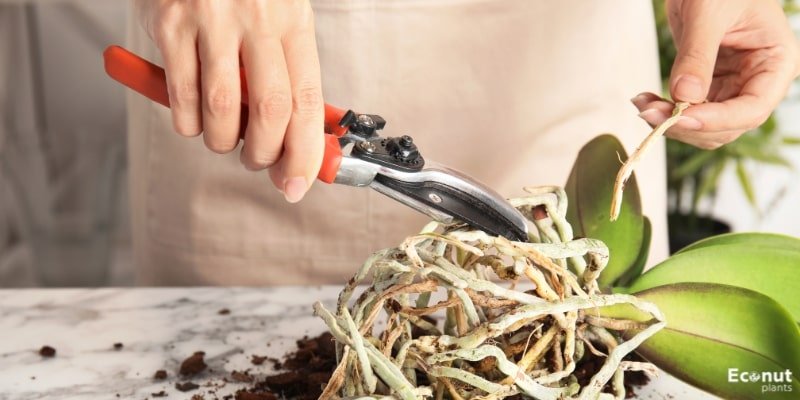
Move upward until you reach the first node, starting at the base of the spike. This will manifest as a little enlargement on the stem. An inch above the node, trim the spike with a clean, sharp instrument.
To speed up the drying process and shield the plant from bacteria and fungus, dust the wound with powdered sulphur or cinnamon. Because orchids are highly contagious, it’s critical to use clean instruments.
Make Any Desired Divisions

This is the ideal time to divide your plants if that is your intention. By dividing now, you’ll allow your plant to heal for as long as possible before it begins to bloom once more. Never divide a blooming plant because if you don’t fully shock the blooms, they won’t last as long.
How to do it:
Make incisions in the rhizome to split it into sections that retain their leaves. In monopodial orchids, such as phalaenopsis, Vanda, and ascocenda orchids, the rhizome runs vertically, causing the plant to always grow upward.
After the blooms fade, the pseudo bulb will continue to grow and provide nutrients for new growth, but it will not bloom again. Consequently, pseudobulbs shouldn’t be removed unless they are dry and brown.
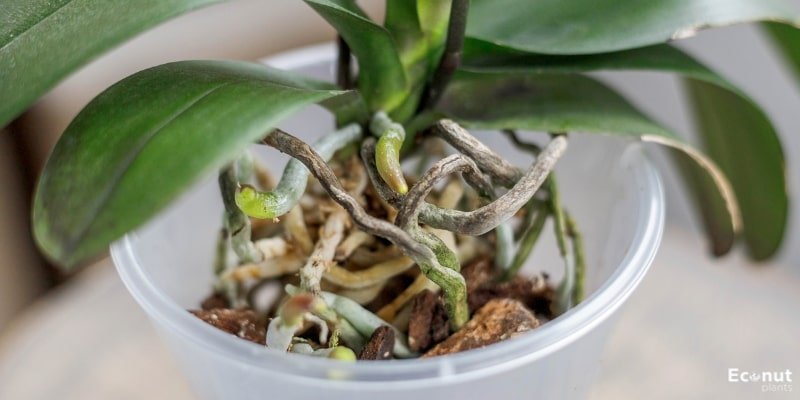
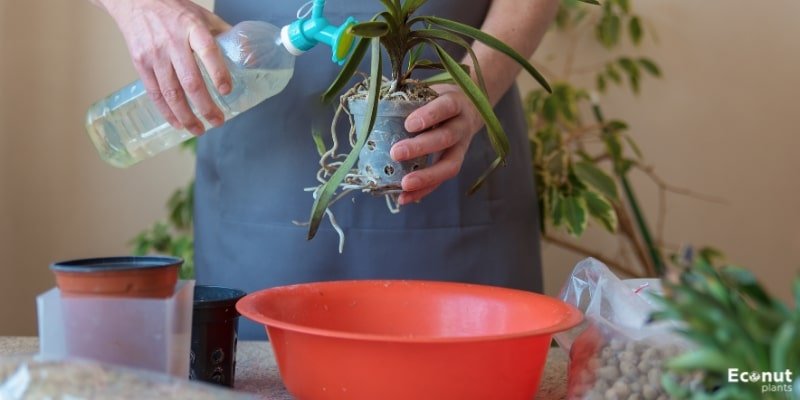
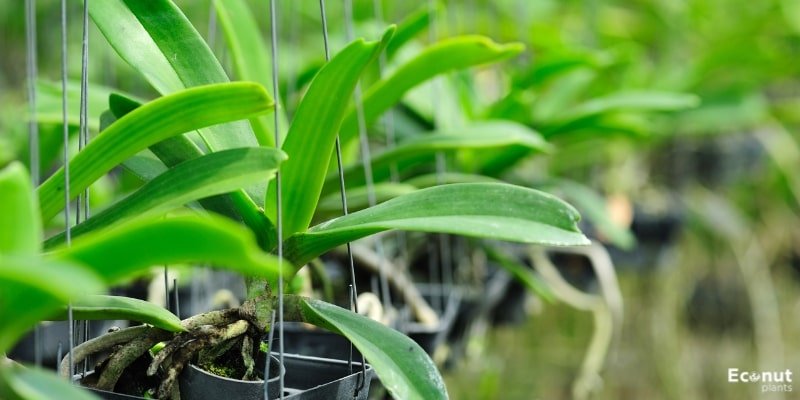
Do Your Repotting Now
If you want to prevent upsetting any freshly developing growth or blossoming petals, now is the ideal time to repot your orchid.
Regardless of whether you are repotting to make extra space or replacing old potting material with new, the process is roughly the same.
How to do it:
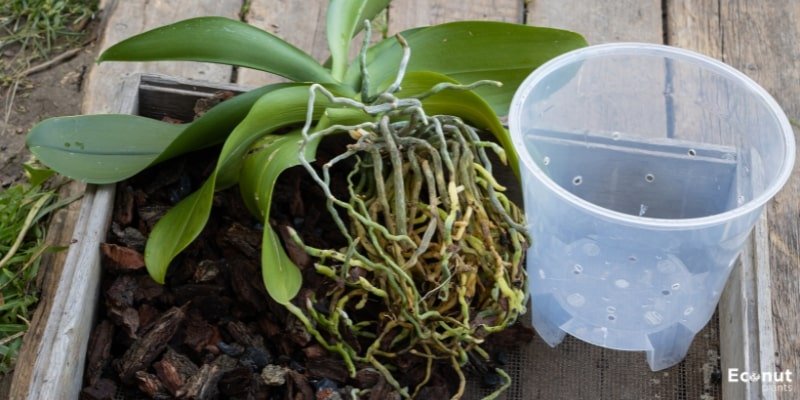
Remove your orchid from its present container, taking care to protect the roots. Using your thumb, carefully press the roots loose in a sideways motion, being careful not to damage those that are stuck to the container.
It is necessary to cover the area surrounding the roots with orchid bark. The ideal habitat for orchids is a mixture of bark and other big particles; a standard potting mix is not very good for orchid health. Use orchid clips or floral wire to keep your orchid in place while the roots take hold.
Keep Up a Good Watering Schedule
Despite widespread assumptions, orchids prefer water. But if it is not potted correctly, it is very easy to overwater. It is never advisable to submerge orchid roots in water for more than a few minutes.
The biggest enemy of indoor orchids is root rot, which is easily caused by soggy roots. Keeping up a regular watering schedule can support the growth and health of your plant.
How to do it:
Once a week, indoor orchids should be drained and refilled with water. To ensure optimal drainage, it is crucial to select the appropriate potting mix and container. Three common techniques help water plants.
Ice Cubes
This is typically the least popular method of watering, but if you are a habitual overwatered, it might make the difference between a dying and thriving orchid. A few ice cubes should be placed atop the planting medium.
Because ice cubes vary in size, each plant should have about ¼ cup of liquid water. As the ice melts, water seeps into the roots, where it may be absorbed gradually.
Top-down watering
The amount of water that goes down the drain with this approach can be a little wasteful, but it works well. You can get optimal absorption by letting the water trickle over the roots of your orchid for a few minutes, but watering it from the top down will also work wonders. To avoid leaf rot, make sure there isn’t any standing water inside the leaves.
Immersion
To water an orchid pot directly from the source, fill a washbasin or bucket halfway full of water, then immerse the pot. Avoid using water that is deep enough to immerse any part of the leaves. After two or three minutes, remove the pot from the water and allow it to drain entirely.
Also Read: Orchid Plant
Fertilize
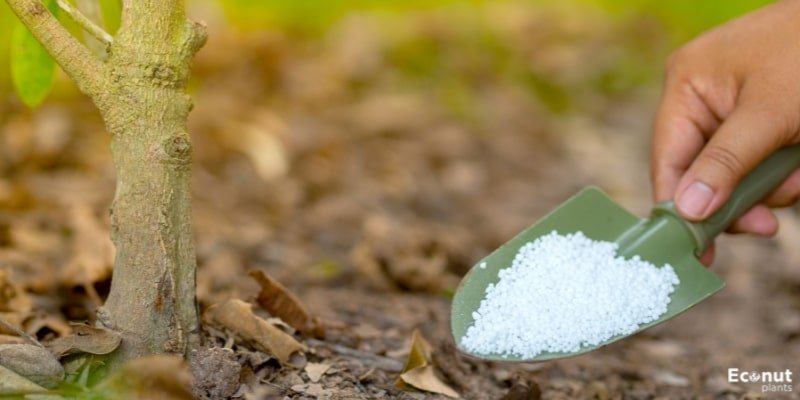
Orchids have an affinity for fertilizer. You need to give them a lot of fertilizer because they can’t get much from their potting material it is challenging to over-fertilize, especially while the plant is growing and healing.
How to do it:
Most places that sell orchids also have specialty fertilizers for orchids. It’s also acceptable to use an all-purpose fertilizer. It is also advised to incorporate an Epsom salt solution into your orchid watering regimen.
It gives the roots more magnesium and aids in clearing the roots of any accumulated fertilizer. Enhancing blooming and fortifying the roots is possible by applying a bone meal solution every three to four months!
Provide Proper Light
Orchids can also be challenging in the sun. The majority of species are epiphytic, that is, they grow on trees in their natural habitat.
It follows that filtered sunshine is the most natural light source for them. Consider how light filters through a tree’s canopy. Light is adored by orchids. Simply put, they usually cannot stand direct sunlight.
This list includes the numerous genera often grown as houseplants and the quantity of sun required by each. An orchid that doesn’t get enough sunshine is unlikely to blossom again, but too much sun exposure will bleach and even burn your leaves.
Get the Humidity Right
High humidity is necessary for orchid growth. They usually require a higher humidity level than what is seen in a typical home. Certain species require humidity levels between 70 and 80%, such as the Vanda orchid.
They are therefore better suited to living in a greenhouse. However, the majority of types can often withstand humidity levels that are closer to 50–60%.
How to do it:
Orchids thrive most of the time in brightly lit kitchens or by bathroom windows. There are two more ways to raise the humidity: a humidifier and a pebble tray.
As the water evaporates, the orchid container sits atop the pebbles, giving the plant the essential humidity. It is not advisable to mist because this could lead to water accumulating in the leaves and flowers. It takes multiple mists daily to achieve the right amount of moisture in the air.
Keeps the Air Circulating?
To treat them, you need to have air circulation. The roots of orchids are readily inflamed. In the wild, they take in water and nutrients from the atmosphere since they are exposed to it.
They require both movement in the surrounding air and a specific humidity level. This is particularly crucial in the winter months because fungus loves cold, wet air and damages orchids.
How to do it:
Any type of fan—portable, exhaust, or ceiling—performs admirably. It is also possible to use an air purifier in a smaller area.
Inspect Regularly
Orchids can contract fungal infections, bacteria, and a variety of insects. Oftentimes, gardeners wait until the harm has already occurred to take this crucial action.
When inspecting leaves, look for any obvious insect infestations or evidence of their presence on the undersides.
What to look for:
Brown patches, yellowing leaves, and weakness at the junction of the leaves and rhizome are indicative of bacterial or fungal infections. Shrivelled foliage, sticky residue on leaves, and tiny web-like formations are signs of an insect infestation.
Treat for Issues
Insects and diseases can cause damage to even the most expert orchid collector. When a plant shows signs of disease or infestation, it’s critical to isolate it and treat it as soon as possible.
How to do it:
A variety of orchid issues can be effectively and safely treated with neem oil. Its antifungal qualities allow it to immobilize insects, thus eliminating most pests before they reach adulthood.
Alcohol can be used to get rid of some insects on leaves, but proceed with caution as this could cause the leaves to dry up. Copper-based fungicides are quite effective when it comes to orchid care.
Conclusion
The best ways to take care of post-blooming orchids are to make sure they receive proper care and to identify any signs of illness.
Certain varieties, depending on the type of plant and the care offered, will continue to bloom. If given the right care, orchids should continue to thrive and bloom for many years to come.