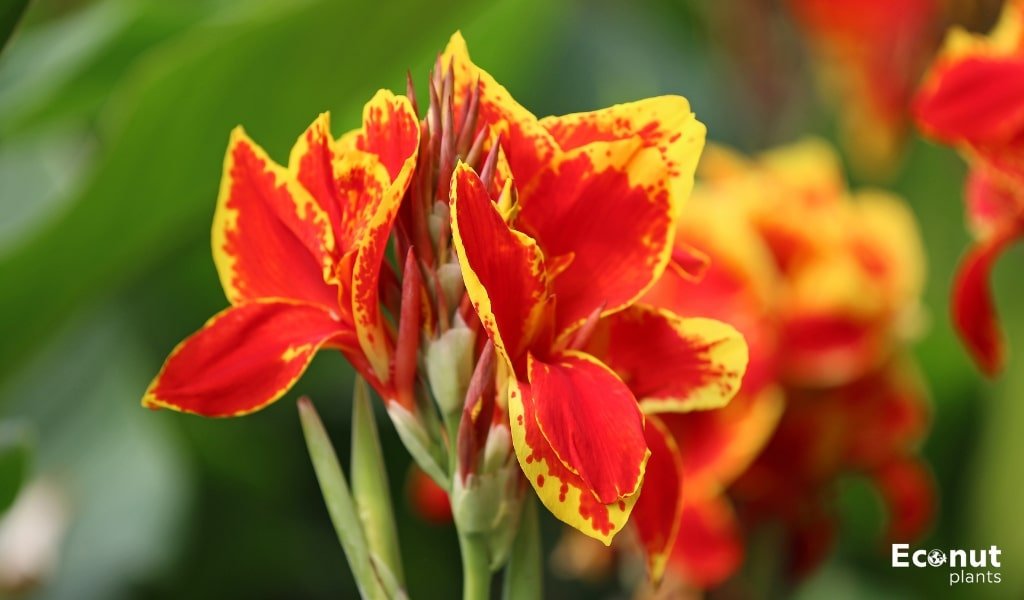
Cannas, or canna lilies, as they are better known, are bright tropical plants with colourful leaves and blossoms. These adaptable perennials are available in various colours that are likely to catch hummingbirds’ interest and the admiration of onlookers.
Canna lilies are resilient plants that thrive in various temperatures and conditions. They can be the focal point of container plantings or grow tall in garden beds.
Canna Lily Plant Overview
| Botanical Name | Canna × general |
| Common Name | Canna lily, canna, arrowroot |
| Family | Cannaceae |
| Plant Type | Annual, perennial, rhizome |
| Hardiness Zones | 6a – 10a (USDA) |
| Sun Exposure | Full sun |
| Soil Type | Moist soil |
| Soil pH | Acidic, neutral |
| Bloom Time | Summer |
| Flower Colour | Yellow, orange, red, pink |
| Native Area | East and West Africa, Central and South America |
How to Grow Canna Lily from Seeds
Choosing Your Canna Lily Seeds
Consider growing canna lilies to add a pop of colour to your garden. Cannabis adds a pop of colour to any outdoor area with its vivid pink, orange, and yellow blooms and colourful foliage that varies from green to bronze.
There are other types to pick from, such as the Tropicana, with its distinctively striped leaves and vivid orange blossoms.
Preparing for Planting
Make sure the area has access to full sun before sowing your canna lily seeds. Although they can withstand some shade, canna plants prefer a sunny environment. Since they want their soil to be moist, increase the amount of compost in the soil to help it retain moisture.
Peat moss can buffer the pH of the soil and provide more moisture. Cannas are also big feeders; thus, the richer the soil, the better. Canna can be planted directly in the ground or grown in pots.
If the winters are frigid where you live, you might want to consider container gardening or digging up your canna rhizomes before the first frost and putting them in a garage or basement to be planted again the following growing season.
Planting Your Seeds
Make sure you plant your canna lily bulbs or seeds at the proper depth. As a general guideline, plant bulbs at three to four times their vertical height; therefore, your canna lily bulbs should be covered with four to six inches of soil. This helps shield them from pests that could harm your plants, like caterpillars, snails, slugs, and deer.
Also Read: Red Lily Varieties
Caring for Your Cannas
Canna needs little maintenance after planting to flourish. To keep their soil moist, especially during the growth season, they require a good irrigation system. Look for any indications of pests or illnesses that could affect your plants’ leaves, like rust. Positively, cannas ward off deer and draw helpful species such as hummingbirds.
Deadheading, or pulling off the spent blooms, will not only make your canna lilies look better, but it will also promote the growth of new buds and blossoms. When a fresh bud forms on the following side shoot, cut the flower stems back.
Canna Lily Plant Care
The following are the primary needs for canna care:
- Cannas can withstand partial sun, but they prefer full sun when planted.
- Horizontally plant canna rhizomes in a planting hole that is four to six inches deep. After filling the planting hole with soil, cover it with a thick layer of mulch.
- Cannabis dislike crowding and may not bloom if other plants overshadow them. Rhizomes should be spaced 18 to 24 inches apart and should not be buried deeper than two to three inches because this will impede the plant’s ability to grow.
- Water at least twice every week.
- Savour a monthly fertilizer feeding that is heavy.
Light
Canna lilies require an abundance of light to grow to their maximum potential. These full-sun-loving perennials look their best when they get six hours or more of direct, unfiltered sunlight daily.
Diffused light produces more greenery, resulting in fewer and duller blooms. Therefore, to ensure the most satisfying foliage, place your container lily plants in the brightest parts of your garden or yard.
Soil
Canna lilies prefer a rich, organic soil that has been supplemented with lots of compost. This benefits the cannas, which are frequently cultivated as perennials, by giving the canna lily bulbs and rhizomes a friendly habitat. Large tropical plants benefit from loose, well-draining soil that is at least a foot deep.
Moist soil is essential for these plants, and adding peat moss to the composition can help retain moisture without flooding the rhizome. Although canna plants grow in a variety of soil types, the ideal pH range is from slightly acidic to neutral.
Pooling water in the soil can cause rot and attract pests like snails and slugs, which is bad for the soil’s ability to flourish.
Also Read: Peace Lily
Water
Cannas are hydric plants that do well in the growing season. It’s important to maintain a harmonious balance since, while canna lilies thrive in damp soil, overwatering can cause rhizome rot.
A greater watering frequency may be required in drier climates or during hot summers. Container plants should be closely monitored because they dry out faster.
If the weather is unusually hot or dry, you’ll need to water more frequently; otherwise, an inch or so each week should be plenty. When the cannas are dormant in the winter, drastically cut back on watering.
Temperature and Humidity
Cannas grow best in temperatures up to 90 degrees Fahrenheit, although they are susceptible to frost and cold weather. Canning may take a while to grow in regions with comparatively cool springtime temperatures.
When beginning plants indoors in pots and transplanting them outdoors once they are actively developing and all risk of frost has passed, you can gain a head start on the growing season in milder locations with USDA cold hardiness zones 7 and lower.
These plants thrive in warm, humid environments because they are native to tropical regions. Place a container-grown plant on a dish filled with water and stones if you live in a dry climate. Make sure the bottom of the pot isn’t contacting the water.
Also Read: Purple Lily
Fertilizer
Cannas and canna lilies, in particular, have a huge appetite and do best when started with lots of compost at the beginning of their growing season.
Applying a layer of well-rotted manure or slow-release granular fertilizer is an excellent way to supply the nutrients required for the growth of vivid flowers and foliage.
During the growing season, lilies need to have their soil replenished once a month. Maintaining a proper amount of fertilizer is essential because overuse of the stuff might result in more foliage and fewer blossoms. The plant’s vibrant blooms and bronze or green leaves make the additional fertilization well worth it.
Pruning
Pruning canna lilies regularly during the growing season is necessary to preserve their beautiful blossoms. Usually, this entails deadheading, which is the removal of faded blooms to encourage new bud growth on the plant.
To control and shape the growth of the plant, pruning canna lilies also entails cutting down the stems and green leaves. Canna lilies should be trimmed down to a few inches above the ground at the first sign of frost.
Lastly, while you prune your plant, make sure to check for pests like slugs, caterpillars, and snails, as they can seriously harm the plant.
Propagation
Cannas are easily multiplied when the rhizomes are pulled up and separated for subsequent planting. Do this in the early spring or late autumn.
- Using a shovel, carefully remove the entire plant, being cautious not to damage the mother plant’s roots or rhizomes.
- Using sharp pruners cut off any above-ground growth so that just around one inch protrudes from the crown.
- Remove any extra dirt from the rhizomes and identify the point where the new and old rhizomes converge.
- To split the rhizomes, cut along these joints, being careful to leave at least one eye on each piece. If you divide your plants in the autumn, save the rhizomes for the winter and plant them again in the spring.
- Place every rhizome division four to six inches deep in the prepared soil.
Potting and Repotting
Cannas are huge plants, so larger containers work best for them given their size. Select a pot that is at least 16 inches in diameter and has an adequate number of drainage holes.
A large container is essential for aesthetic scale considerations as well as giving the plant enough space to grow a strong, robust root system. Growing older plants that are top-heavy are less likely to topple over in a bigger container.
The container should be filled with high-quality potting soil and have sufficient drainage. Because cannas are voracious feeders, sprinkle a slow-release fertilizer into your potting soil before planting.
If you have kept the rhizomes from last year’s plants and live in a cold winter area, you can put up the rhizomes indoors four to six weeks before the last spring frost to give yourself a head start on the next growth season. Once the risk of frost has gone, move the pots outside or plant them in the ground.
Overwintering
If you live somewhere colder, cut the canna to the ground after the first frost in October. Dig up the rhizome clumps carefully, and store them for the winter in a location that keeps them above 40 degrees Fahrenheit, like dry peat moss, coconut coir, or vermiculite.
To prevent the rhizomes from drying out, you should spray them with water occasionally rather than leaving them in a consistently moist medium. You can bring indoor plants growing in containers for the winter.
Also Read: Varieties of Pink Lily
Common Pests & Plant Diseases
Holes in canna leaves and blossoms are a source of delight for slugs, snails, and Japanese beetles. Though they may be resistant to pest issues in general, caterpillars and grasshoppers may devour the leaves of cannas; remove them by hand. However, the canna leaf roller caterpillar is the worst pest.
The caterpillars that emerge from the eggs laid by the canna leaf roller moth in the bud of a developing stalk leave behind sticky webbing that stops the leaf from unfurling. If a leaf appears to be unable to open, remove it. If pests are present, you may want to consider spraying the plant with insecticidal soap.
A waxy coating on canna leaves aids in their resistance to fungi, but they can also have several other issues. Canna mosaic virus, aster yellows, and rust fungus can all affect them. Notice any sickly-looking or discoloured leaves.
Often, all you have to do to combat rust fungus is pull out the impacted leaves. So, you ought to remove the entire plant if it has both the Aster yellows and the Canna mosaic virus.
Common Problems with Canna
Cannas are simple plants to grow; however, there are a few problems with them.
Rhizomes That Don’t Germinate
Rhizomes will not sprout if they do not have the proper soil temperature, adequate space, and an abundance of water. It’s also essential to the rhizomes’ ability to absorb that they have eyes.
Yellowing Leaves
A combination of excessive or insufficient water and sunlight is the most prevalent cause of yellowing leaves.
Conclusion
Plant canna lilies in full sun for at least eight hours each day to guarantee that they grow to their fullest potential. This does not preclude you from planting them in a partially shaded area.
This plant’s best feature is that it can still thrive in some partial shade. Remember that in places with less shade, there may be less bloom and foliage output. Cheers to your planting!
FAQ
Can canna be grown from seeds or plants?
Cannas can be grown from seeds, though they are usually grown from rhizomes. To grow canna from seed, start the seeds indoors in February with soil intended for seed starting. Soaking the seeds in water for up to two days can help with germination.
Canna plants are divided?
Canna plants can be divided by dividing the rhizomes into parts and replanting them. Two or three “eyes” or growth points should be present in each area.
When is the best time to divide canna plants?
When the rhizomes get too congested, divide them if you live in a warm region and can keep them in the ground for the winter. Generally speaking, this occurs every two to three years; however, the exact timing may depend on how well they grow where they are.