Petunias are one of the most widely used and dependable garden flowers available today, which is understandable. While it’s easy to purchase a few petunia seedlings to fill a planter, starting from seed is the best option for large plantings and garden edging.
Are you unsure about where to begin this season while trying to raise petunias from seed? These sensitive perennials require little maintenance and grow quickly from seeds that may be grown indoors or placed outside for the winter. This Post includes Seven Easy Steps to Growing Petunias from Seed.
Step 1: Choose Your Variety
Selecting which kind to plant is the most difficult aspect of growing petunias. Before anything else, you must choose between a mounding and a trailing variety. Trailing varieties work well in hanging receptacles and baskets. Prune during the growing season to maintain the shorter height of trailing types.
Mound types make great additions to vegetable gardens, flower beds, pots, and landscapes. They spend their entire life cycle in a lovely, compact mound rather than spreading out like trailing kinds do. When planted in large quantities, mounding types provide lovely blanket effects.
Step 2: Gather Materials for Planting

It is advisable to obtain the appropriate materials before starting any planting. Petunia seed starting is a satisfying process, but it costs money and requires time. If you want to guarantee good germination, you need the right supplies.
Start by determining the desired quantity of petunia plants. Having an idea of how much of each material you’ll need will help. Pots, trays or cells, water, seeds, and labels are the supplies you’ll need.
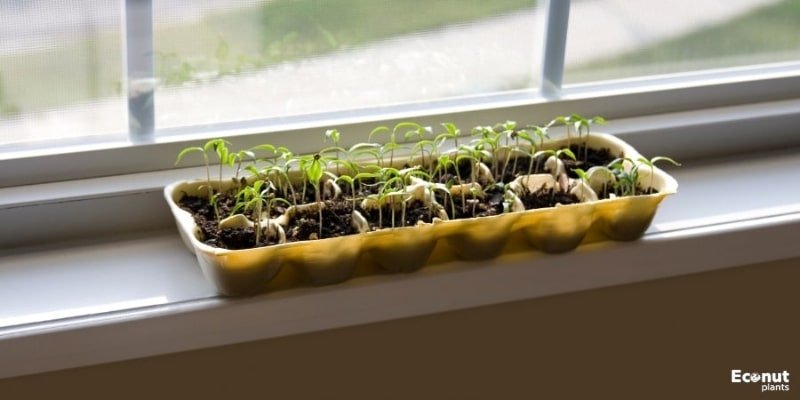
When they are first growing, they require a lot of light. For large quantities of seedlings, a greenhouse or growing light system is perfect. If you are starting a few plants from seed, you can put them in the windows of your house for the right amount of light.
Step 3: Planting Seeds
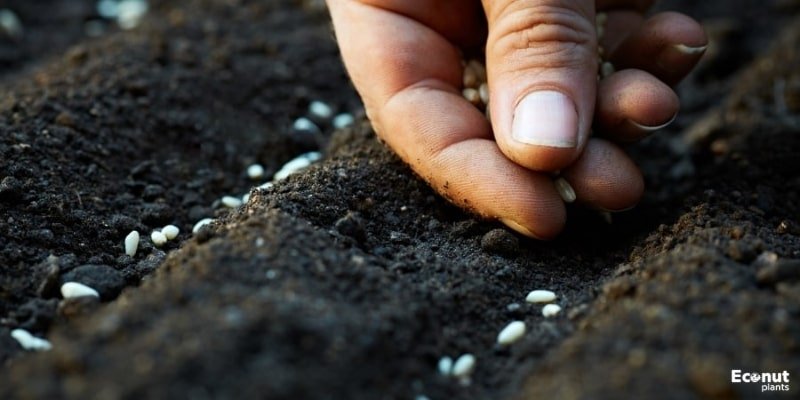
It’s time to start planting seeds once you’ve gathered your supplies. Ten to twelve weeks before the predicted last spring frost, you should begin sowing seeds. Planting soil should first be added to cells or pots. Push the seeds gently into the ground after they are filled. Just beneath the soil’s surface is where they need to be.
Water the soil sparingly until it becomes moist after sowing the seeds. If you pour water over the seeds, they may shift, so it is best to mist the soil. To know which container is which, give each one a label.
Cover the seeds with plastic wrap or a plastic dome once they have been watered and labeled. For seeds to germinate, this will help maintain high temperatures. The ideal germination temperature range is between 75 and 85 degrees Fahrenheit. It will help to maintain high temperatures during germination if you have a heat partner.
Put the containers in the shade for a minimum of six hours per day. Make sure the grow lights are 4 to 6 inches above the pots if you are growing petunias under them. As the seedlings grow, you can adjust the intensity of these lights.
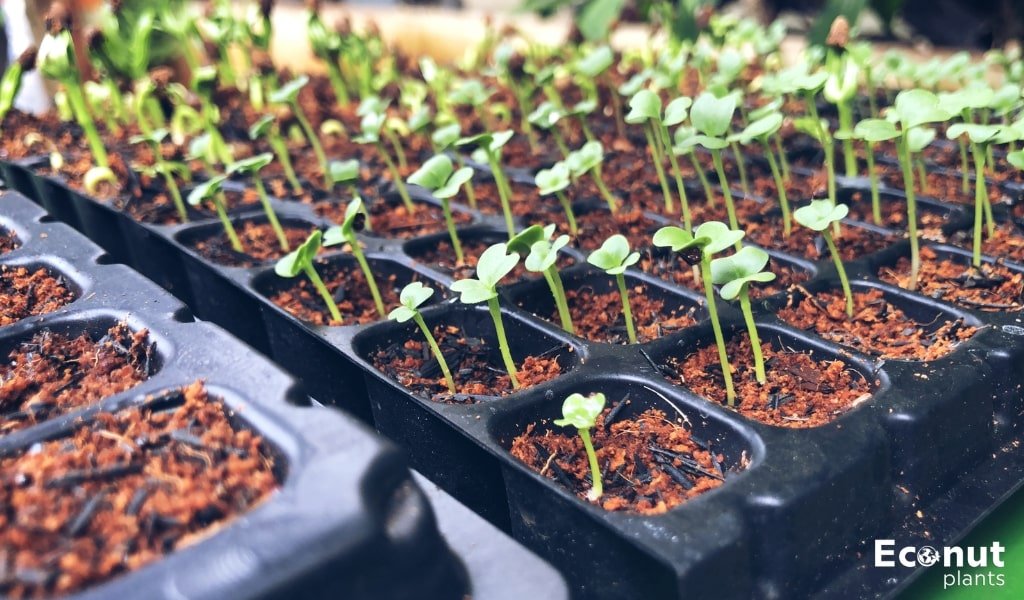
Step 4: Germination and Thinning
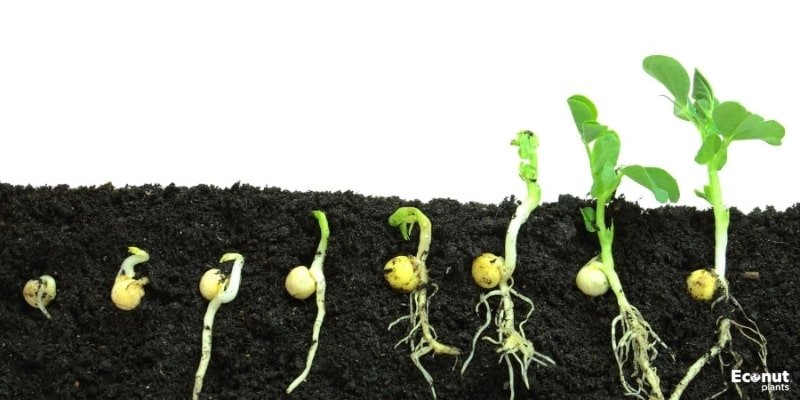
After planting, seedlings should start to appear in seven to ten days. Take out the plastic dome or wrap, as well as the seedlings from the heat mat. The ideal temperature range for the seedlings is between 65 and 75 degrees Fahrenheit.
Dig around the area you planted to see whether anything is sprouting if, after 14 days, you haven’t noticed any seedlings. Consider planting another set of petunias if the seedlings haven’t sprouted, and make sure the soil doesn’t dry up. Make sure the lighting is appropriate.
Seedlings may need to be thinned out once they have germinated. Their seeds are tiny, so you might have put a lot of them in a single pot or tray. Start thinning as soon as you think every seedling is big enough to handle.
Just take out all except one or two seedlings, based on the size of your cell or pot. Make sure there is at least 6 inches of space between each seedling if you planted them in trays. Petunias that have been thinned out can be moved to extra trays, cells, or containers if you’re lucky and your seedlings weren’t damaged.
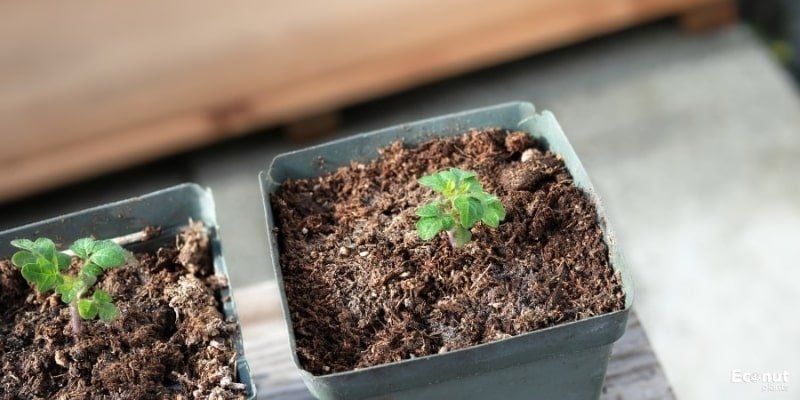
Step 5: Seedling Care
Every day, check the seedlings to see whether they require watering. If seedlings are left to dry out, they may quickly suffer. Though it should never contain standing water, the soil should always be moist.
Soils that are too wet will swiftly kill seedlings. Don’t forget to change the lamps as the seedlings grow. At all times, they ought to be 4–6 inches above the seedlings.
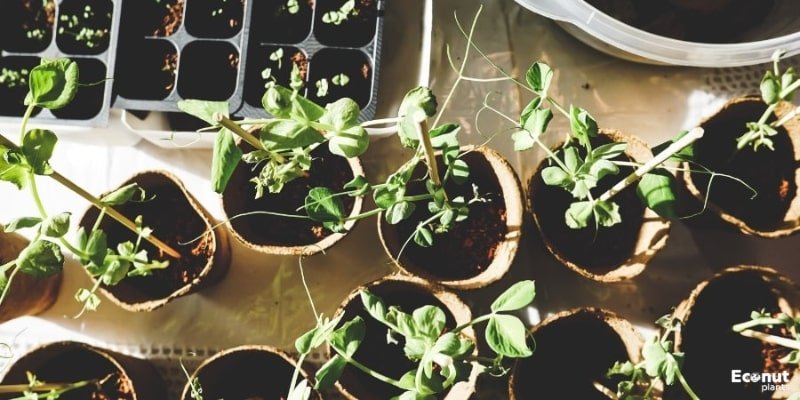
Make sure not to harm the plant or its roots when relocating it to a bigger container. Until seedlings have two to three genuine leaves, keep watering them and make sure they get at least six hours of sunlight each day. You can start moving them outside as soon as they get their actual leaves.
Step 6: Hardening Off
It is time to harden off your petunias to get them ready for planting outside a few weeks before you wish to put them outside. This will prevent the seedling from experiencing shock as it adjusts to the external environment. Plants may experience shock and die if they are transplanted outside before becoming acclimated.
Start by putting your seedlings outside for a few hours each day, and then gradually extend their outside time until they are spent outside for the majority of the day. If you raise your seedlings in a greenhouse, hardening off isn’t always required.
If they are grown in a greenhouse, you may want to skip this step because the conditions there are extremely similar to those outside, your plants are cultivated inside, where they aren’t subjected to changes in light and temperature, hardening off is a smart idea.
Step 7: Planting Outdoors
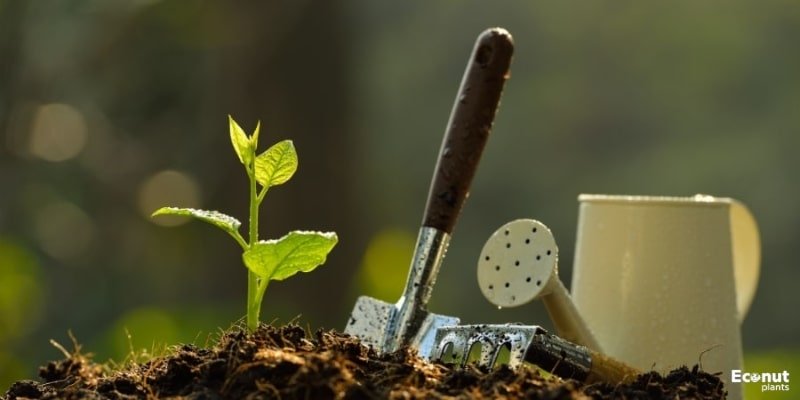
You can plant your petunias outside once they have completed the hardening-off stage. Choose a sunny spot with soil that drains properly. Because of their adaptability, petunias may be grown almost anywhere with enough light and soil.
Once a suitable spot has been found, prepare the surrounding soil. At this point, add organic matter if your soils don’t drain well. Fill pots with loose potting soil if you are planting in them. You might want to amend the soil with fertilizer before planting your petunias.
Being heavy feeders, petunias will require additional fertilizers at various times of the season or year. A slow-release fertilizer is a great option because the nutrients seep into the soil gradually. Although they quickly leak out of the soil, liquid fertilizers are nevertheless beneficial.
Place the seedlings where you want them to grow. After being buried in the ground. Thoroughly water to promote healthy roots. Make sure your petunias are growing and that the soil isn’t drying out by checking on them every day.
Conclusion
Petunias are worth trying if you have a favourite type that isn’t available in pots or cells, or if you just enjoy growing plants from seed. If you want to develop larger plantings, starting from seed is not only more cost-effective but also a worthwhile Endeavour.
Your container garden or landscape will be bursting with gorgeous petunia blossoms this season with a little bit of maintenance and perseverance!